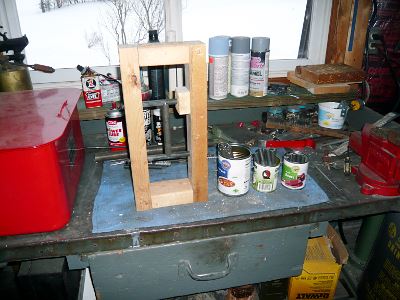
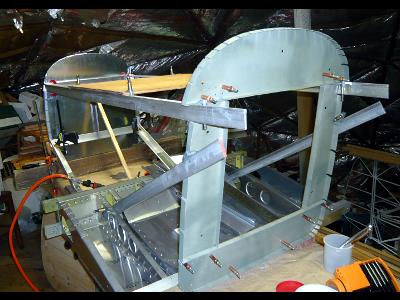
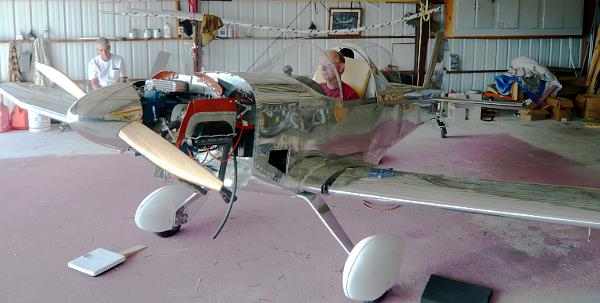
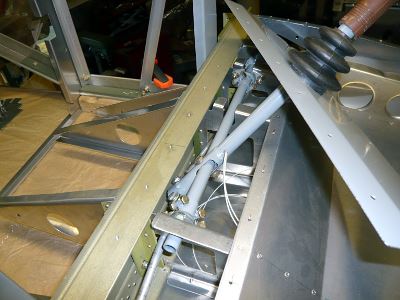
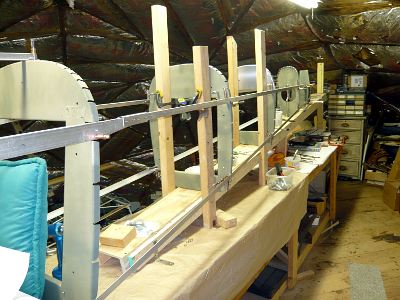
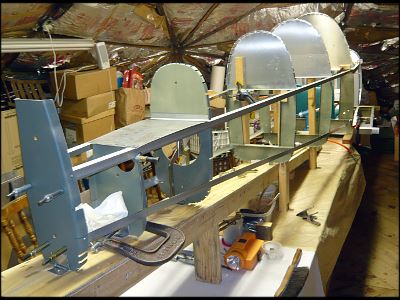
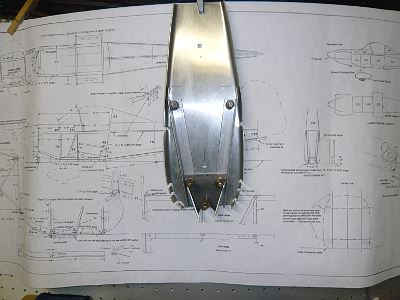
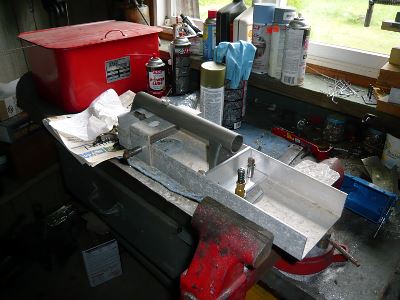
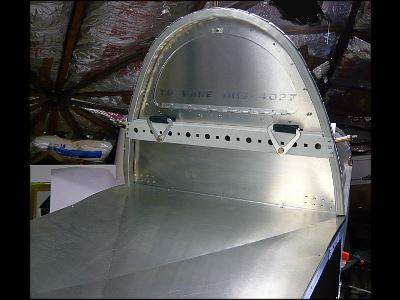
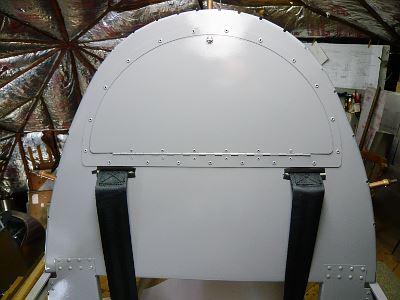
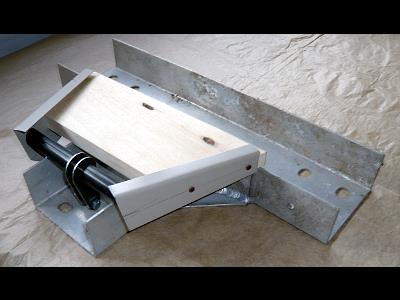
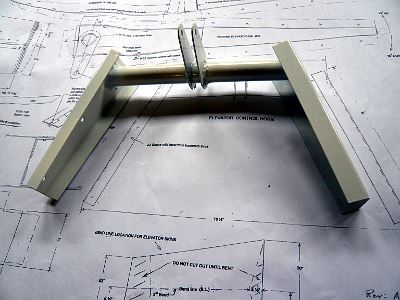
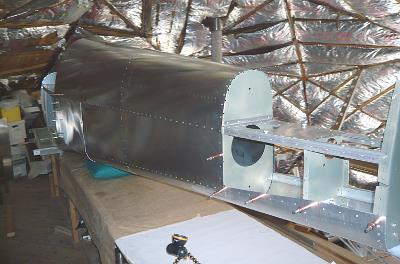
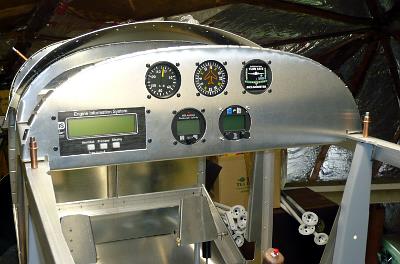
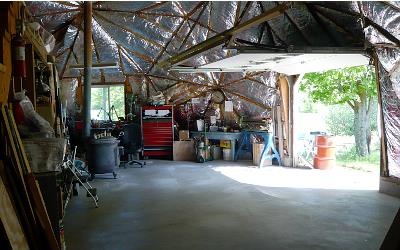
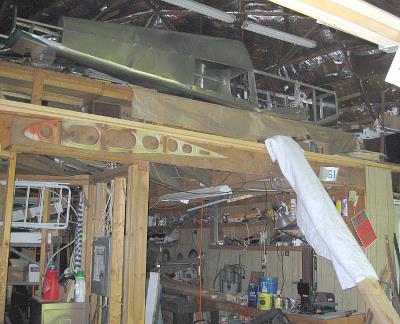
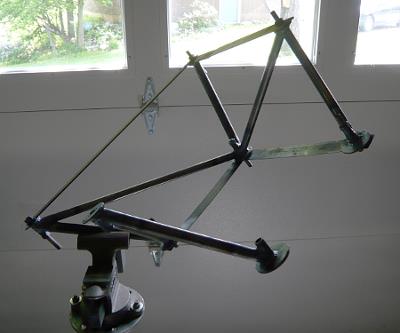
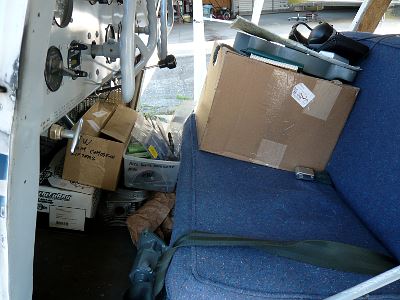
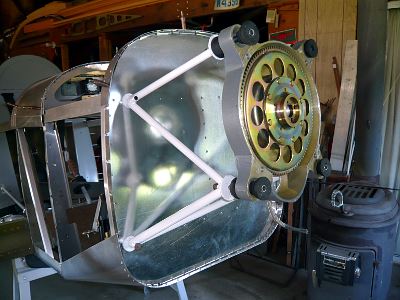
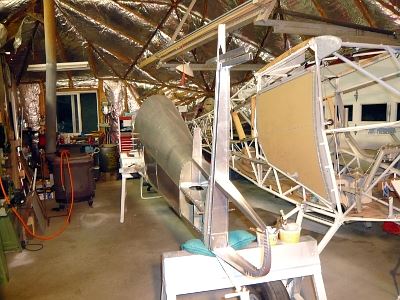
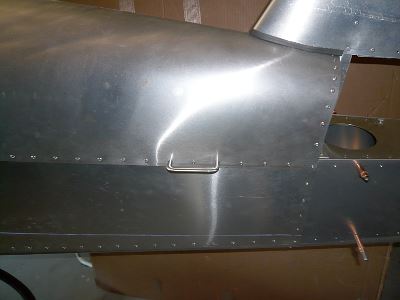
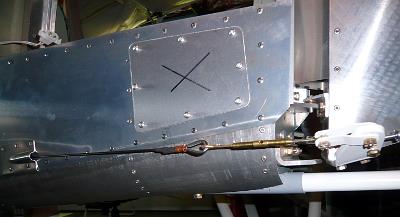
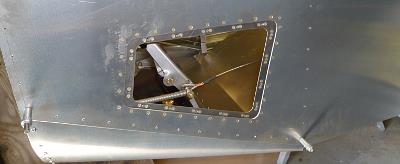
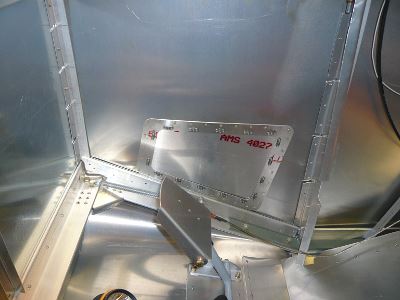
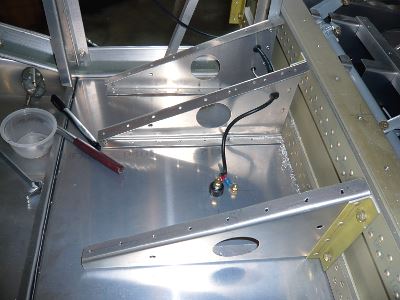
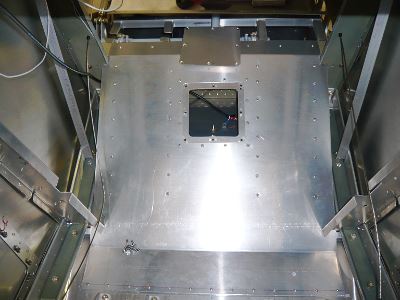
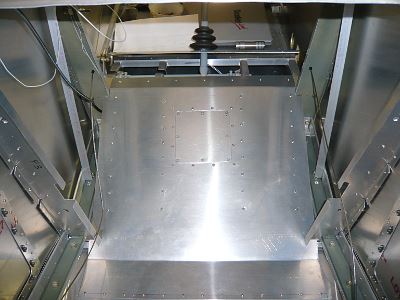
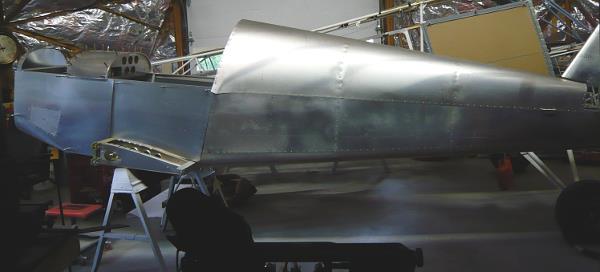
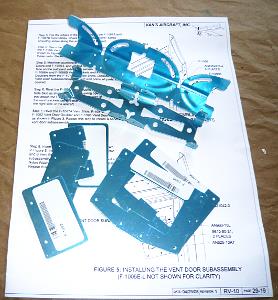
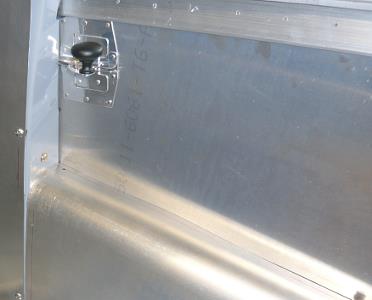
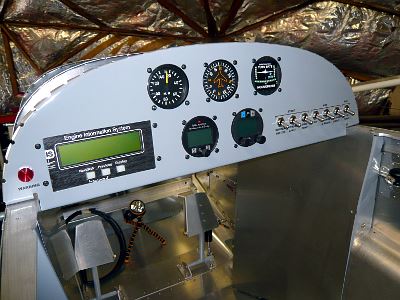
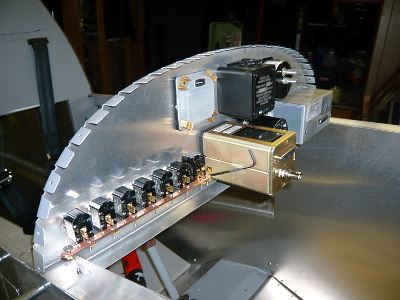
Rudder pedal in fixture for weldingForward fuselage jigged upTrying George Mays’ CX4 on for sizeJoy stick and PTT switch wiringTail bulkheads jigged upFast back bulkheads in placeF12 bulkhead set up for RV tail springTail spring socket in welding fixtureRV-style tail spring socketPicking up a sheet of .020″ aluminum at Yarde Metals3/4″ square aluminum roll bar & repurposed electrical cable trayF7 bulkhead & shoulder belts installedBaggage door & shoulder beltsThis door is available in kit formElevator control horn in jig for weldingElevator control horn finishedFuselage top skinnedInstrument panel less switchesThe cleanest the shop has been in a long timePreparing to slide the fuselage down from the loftDown, with no dents or scratches; I’m the one with the big smileBoth projects in place at ground levelWelding engine mount clustersThree engine mounts completedTransporting a GP-2300 engine kit home in my TaylorcraftTrial fit of the Diehl rear case and engine mountSkeletal tail fin & rudderTail fin & rudder skinnedRudder pedal return springsRV tail spring, Screaming Eagle tail wheel and Harmon Rocket steering linkRFIO access opening kits from http://www.mykitairplane.com in place on the tailRFIO access opening kits from http://www.mykitairplane.com in place on the tailTony Gallo inspired grab handle, Gate House brand, item # 0226999 from LowesTail access opening with cover & Rudder stop in placeRIOK rudder pedal access opening kit from http://www.mykitairplane.com in placeRIOK rudder pedal access opening kit from http://www.mykitairplane.com in placeRudder pedal access inside viewRudder pedal access inside viewAntenna access opening copied from http://www.mykitairplane.com FPFK kitAntenna access opening copied from http://www.mykitairplane.com FPFK kitJust about ready to sit inRV10 vent kit-some assembly requiredAir vent installedFront of completed instrument panelPanel back with main buss stripFinished trim tabMounting hole for Ray Allen servoCompleted horizontal stabilizer & elevatorsTrim tab closeupThese offset snips do a good job of cutting .040”, but it takes strong hand..both of them.The side piece is all cut and marked for bending.The last piece bent was the bottom. I bent the side 90 degree flanges first, one pass each side. Then the piece was passed through the brake for other bends. If the notches are cut at 60 degrees, the brake will be stopped by the side flanges at just the right angle for the bottom end flanges.The rivet holes are all locatedDrilling through the top piece to transfer rivet holes to the filler flange before installing nut platesI made a spool piece out of a carriage bolt and 5/16” fender washers, which were a perfect fit inside the sealant tube. This allowed use of a regular caulking gun. The directions say to remove plug inside the tube; I left it in and used it to push the sealant out without messing up the caulking gun.Old screws cut off and turned to a point, inserted in filler flange mounting holesFuel tank cover was clecoed in place and tapped lightly to locate screw holes and center of fly-cut openingFinis! I riveted up the side and the top piece, then applied sealant inside the top and side seams, over the nut plates and under the outlet flanges – before riveting them also. Then I put a bead of sealant around inside the bottom piece flanges before pressing that into place and riveting, with a dab of sealant on each rivet shank. I finished up by dabbing sealant in all the bottom rivet dimples. It took less than half of the 6 oz Chem-seal tube.